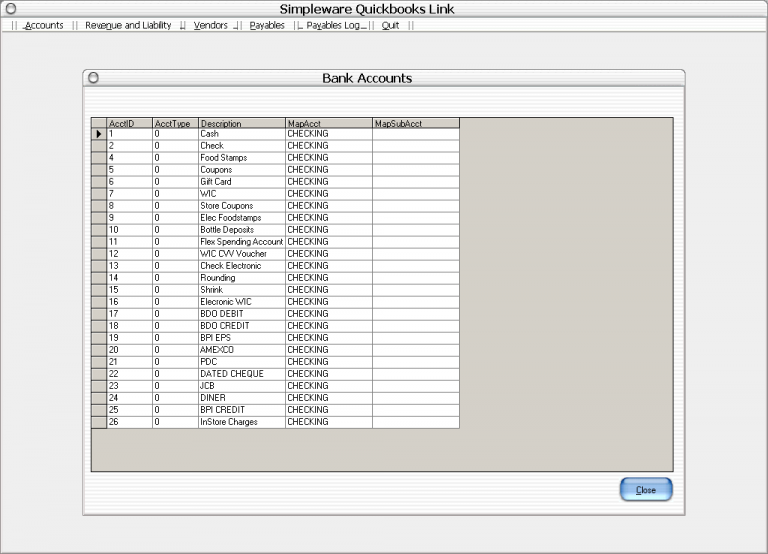
1. Select “Account” then “Bank Account” to review mapping of Asset Account. Column “MapAcct” should match with the Quickbooks asset account.
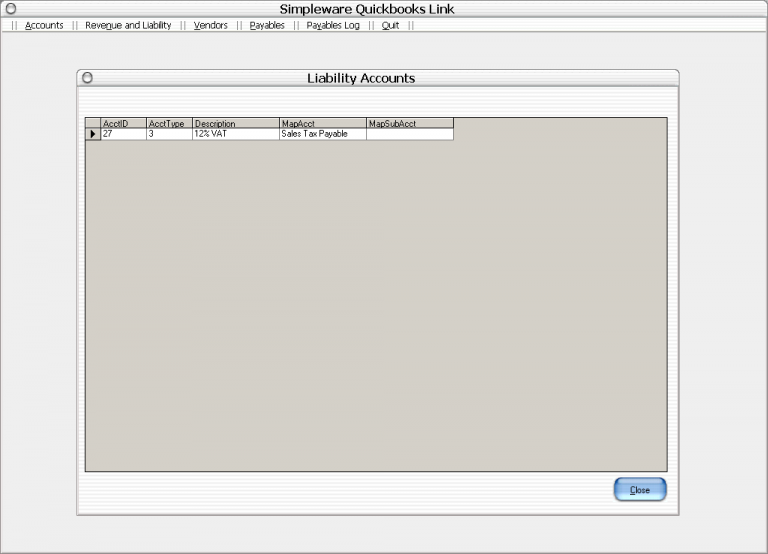
2. Select “Account” then “Liability Account” to review mapping of Liability Account. Column “MapAcct” should match with the Quickbooks asset account.
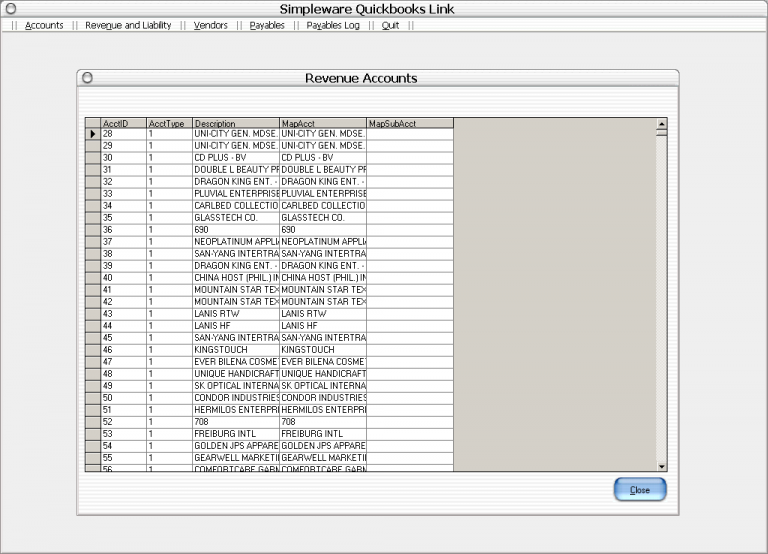
3. Select “Account” then “Revenue Account” to review mapping of Revenue Account. Column “MapAcct” should match with the Quickbooks Revenue Account. (Department of IT Retail)
4. Select “Account” then “Expense Account” to review mapping of Expense Account. Column “MapAcct” should match with the Quickbooks Expense Account.
Revenue and Liability
Select “Revenue and Liability” then, select “Account Receivable”.
Choose specific date at “Export Date” then, click on “LOAD” button.
If there are Sales on the selected date on IT Retail, records will show on the grid. This is the “Department Sales” of IT Retail.
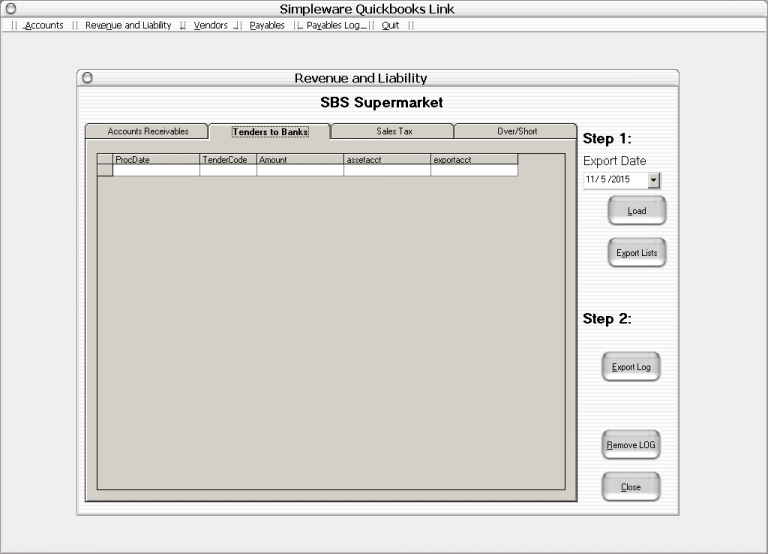
2. Select “Revenue and Liability” then select “Tenders To Banks”.
Choose specific date at “Export Date” then, click on “LOAD” button.
If there are Sales on the selected date on IT Retail, records will show on the grid. This shows the sales per “Tenders” of IT Retail.
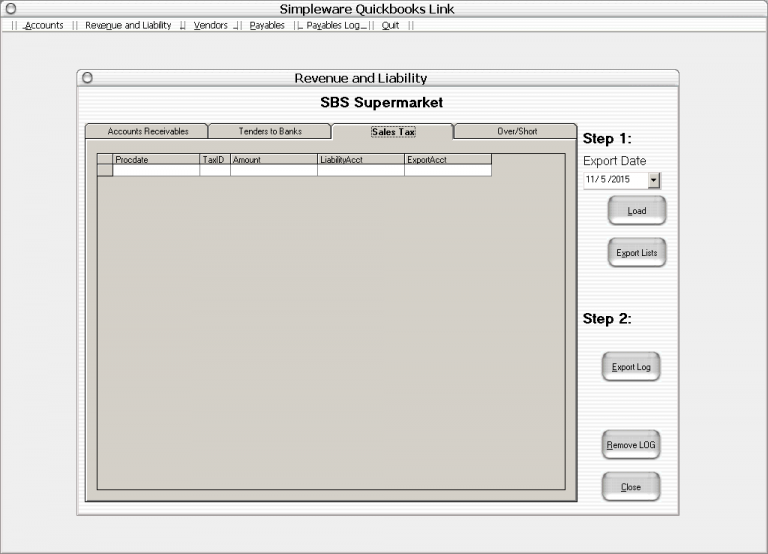
3. Select “Revenue and Liability” then select “Sales Tax”.
Choose specific date at “Export Date” then, click on “LOAD” button.
If there are Sales on the selected date on IT Retail, records will show on the grid. This shows the sales per “Tax ID” of IT Retail.
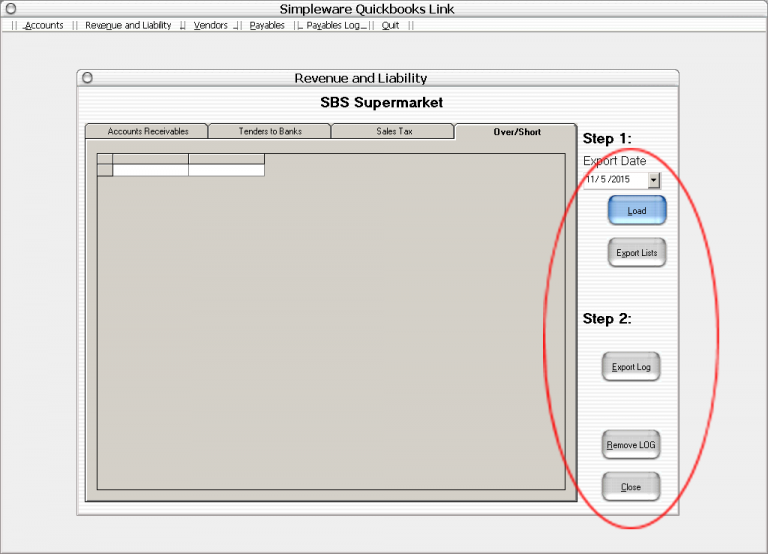
4. Select “Revenue and Liability” then select “Over/Short”.
Choose specific date at “Export Date” then, click on “LOAD” button.
If there are Sales on the selected date on IT Retail, records will show on the grid. This shows the variance of sales (Actual vs System). Please see IT Retail Backend > Till Statistics and Balancing.
5. Buttons under Step 1 and Step 2 applicable to all TABS.
“Load” button – displays the sales on the selected date.
Export List – creates an IIF file to be imported for QuickBooks. Exported files is save at application path folder under Sales (e.g. C:\Program files (x86)\SBSQB Link\Sales\Retail_”date”.iif).
Export Log – is use to create log of the selected date to prevent duplicate importation to QuickBooks.
Remove Log – is use to delete exported log date.
Payables
1. Select “Payables” on the menu lists.
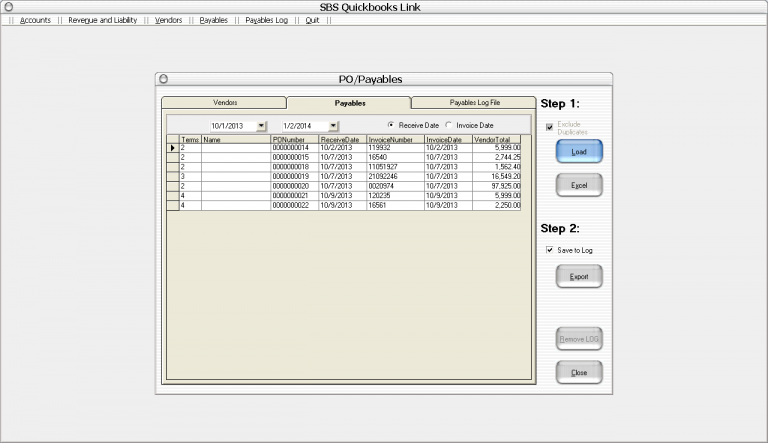
5. On the Payables tab, select desired date by “Receive Date” or “Invoice Date” then press “Load” button to show the lists of invoices from ITRetail. Press “Excel” button to create the lists.
This is just a copy for printing purposes and not for importing on Quickbooks. Exported file is located on the folder named “ExcelExports” after pressing the SBS_QB_LINK shortcut on your desktop. Press “Export” button to create IIF file to be imported on Quickbooks just like the procedure you made for sales of ITRetail.
If “Save to Log” was checked, the data created will be saved on the system and this will prevent a duplicate export if the user selects the same data created before.
Note:
The system will now create a folder “Invoices” for payables and “Sales” for Revenue and Liability. (Please refer on SBS_QB_LINK shortcut on your desktop). And make sure that you always backup you QuickBooks data file before the imports.